How to Manually Add Vehicle Fitments in PCFitment
This guide explains how to manually add vehicle compatibility (fitments) to an existing part in your PCFitment account.
By following these steps, you can easily find and link specific vehicles to your parts using the PCFitment search interface.
Before you begin, please make sure you have:
- An active PCFitment account.
- The part already created in your My Parts & Fitment list.
Step-by-Step Guide
Follow these steps to search, select, and save new vehicle fitments for your part.
Step 1: Navigate to Your Part
- From the Dashboard, click on the My Parts & Fitment tab in the top navigation bar.
- Your complete list of parts will be displayed.
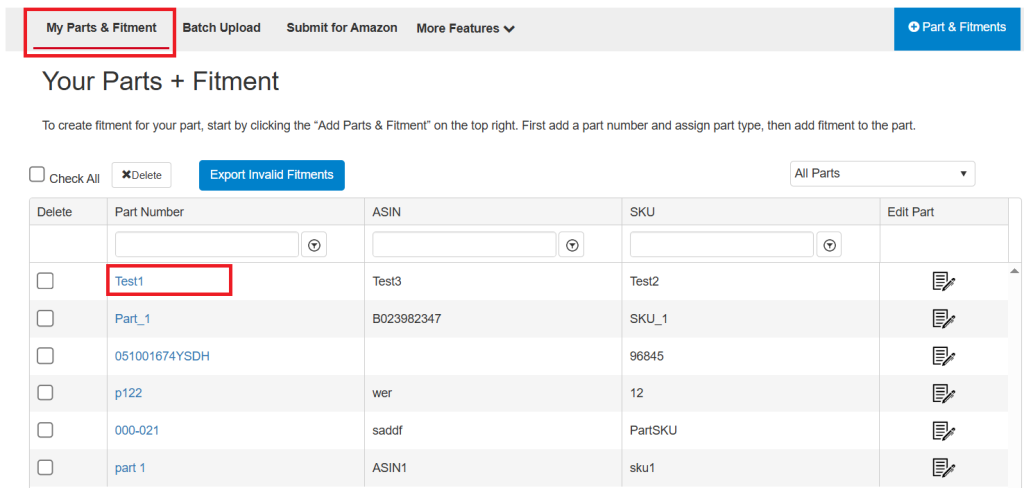
Step 2: Select the Part to Update
Locate the part you wish to update and click its Part Number link (for example, Test1).
This will open the detailed Part Information page for that specific item.
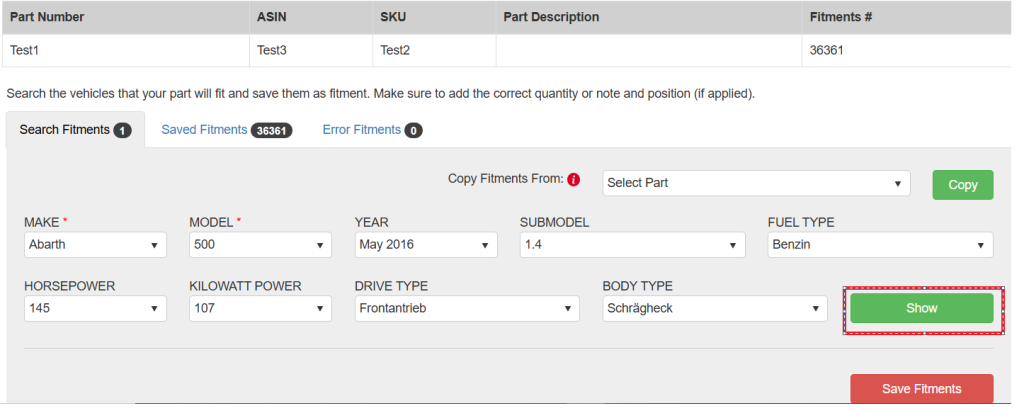
Step 5: Find Matching Vehicles
Once all criteria are defined, click the Show button (green).
PCFitment will search its database and display all matching vehicles in a results table at the bottom of the page.
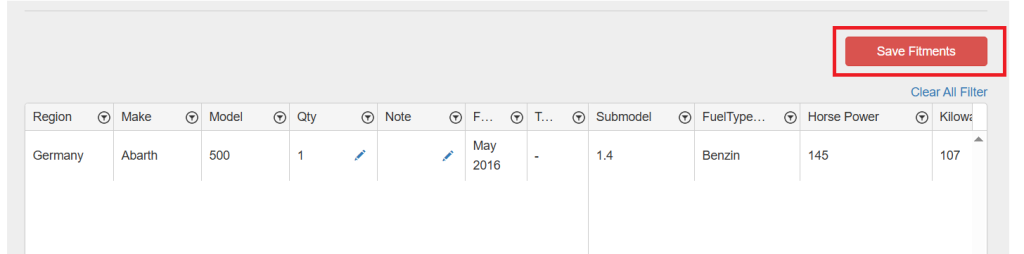
Review the listed vehicle(s). If they are correct, click the Save Fitments button (red).
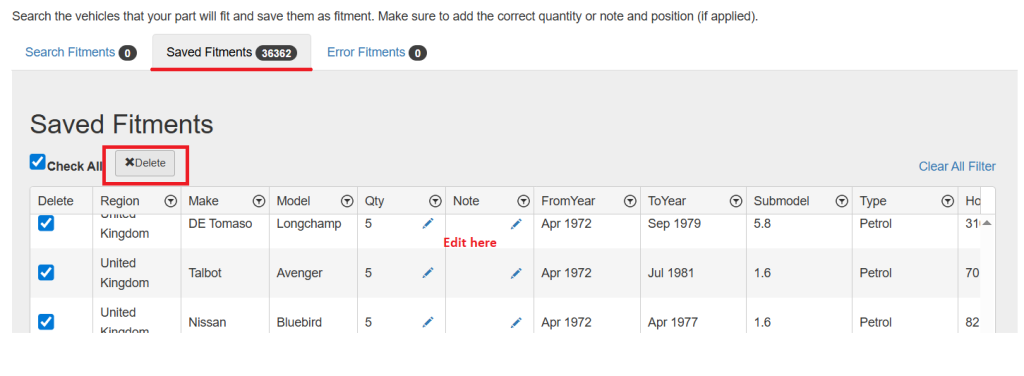
After a short loading period, the page will refresh — confirming that the new fitment has been successfully added to your part.You can instantly confirm that the fitment has been added. On the same Part Information page, click the Saved Fitments tab You’ll now see the newly added vehicle
From the Saved Fitments tab, you can easily manage existing entries — delete any vehicle fitment you no longer need or edit the some details.